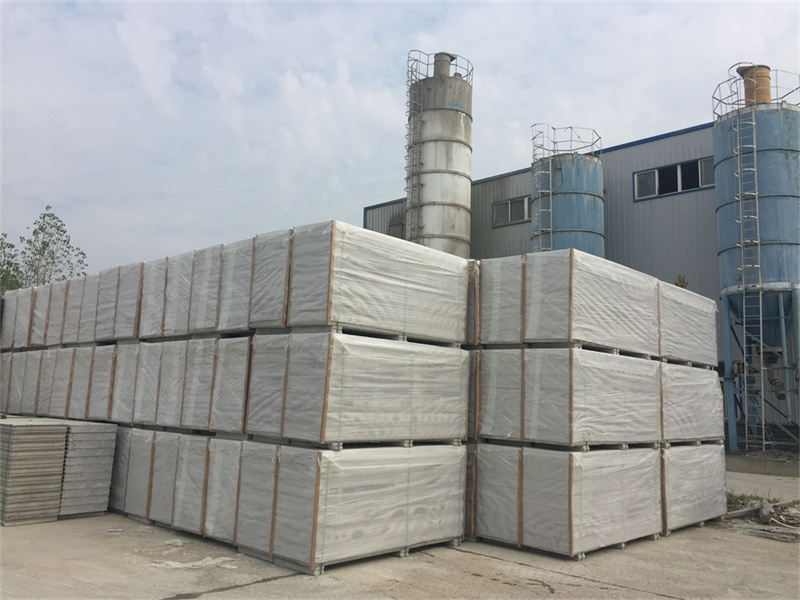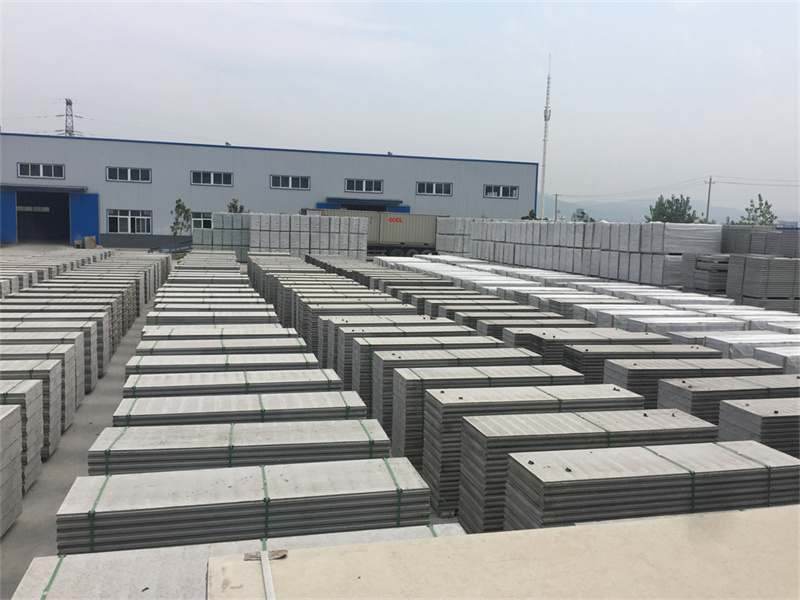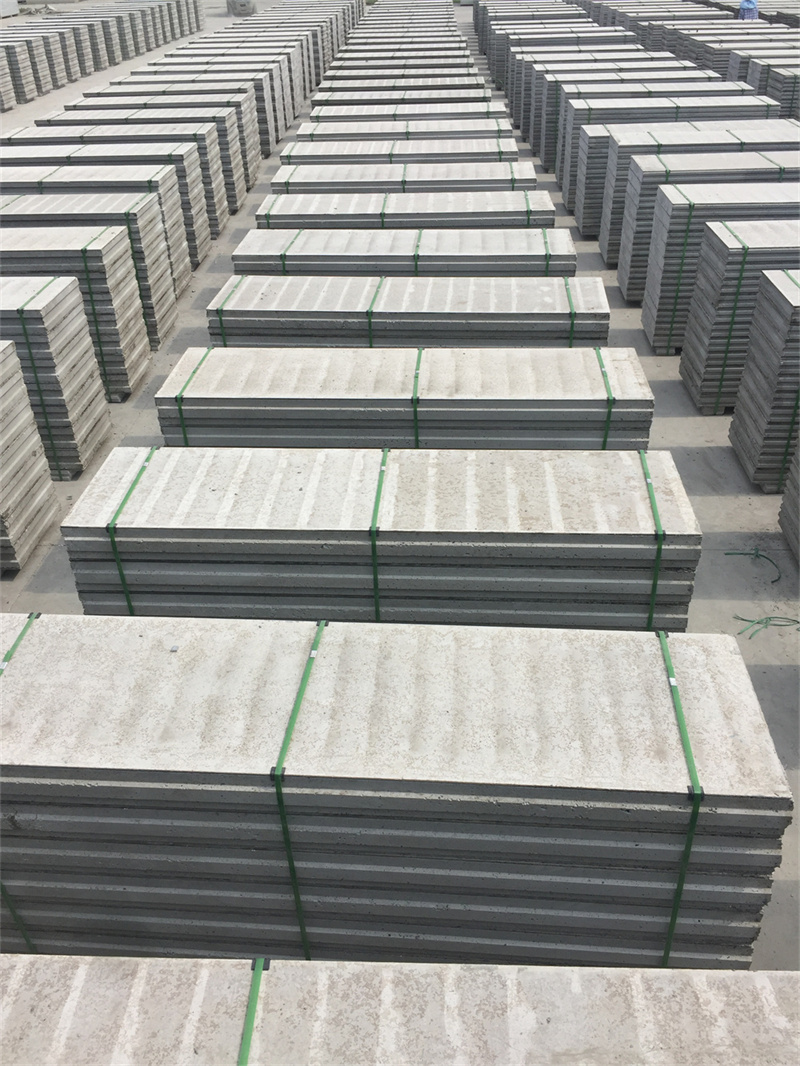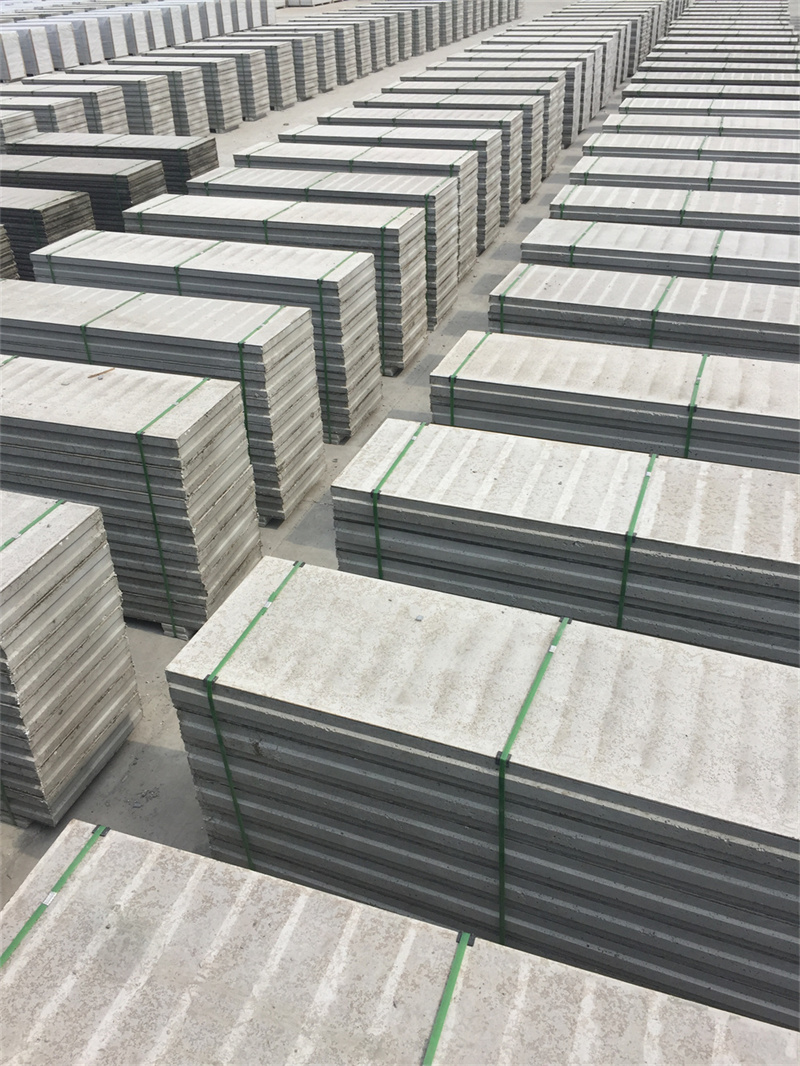
One of the most common problems after wall renovation is cracks appearing along the slot positions where wires and pipes are buried. These ugly cracks usually show up a few months after the renovation is finished, ruining the perfect paint or tile surface and making homeowners very unhappy. Many people think this problem is unavoidable for all lightweight wall panels, but in fact, if you use the right repair method on EPS Cement Sandwich Panel, you can completely eliminate these cracks forever.
After you finish cutting the slot and placing the wires or pipes inside the EPS Cement Sandwich Panel, you should not just fill the slot with ordinary cement putty directly. The correct process is very simple but often overlooked. First, use a brush to clean all the dust and loose debris inside the slot completely, then apply a thin layer of interface agent on the inner surface of the slot to improve the adhesion between the panel and the filling material. Then fill the slot in two separate layers, instead of filling it all at once. Wait for the first layer to dry completely before applying the second layer, and make sure the filling material is slightly lower than the original panel surface. After the filling material is fully cured, stick a layer of anti-crack fiber mesh tape over the repaired slot position, and then apply the final thin layer of putty to make the whole surface completely flat. This simple process will ensure that the repaired area has the same expansion and contraction rate as the original EPS Cement Sandwich Panel, so no cracks will appear even after several years of temperature and humidity changes. Hundreds of thousands of completed projects have proven that when you follow this standard repair process, the slot repair area will stay perfectly intact for more than 10 years without any cracks.