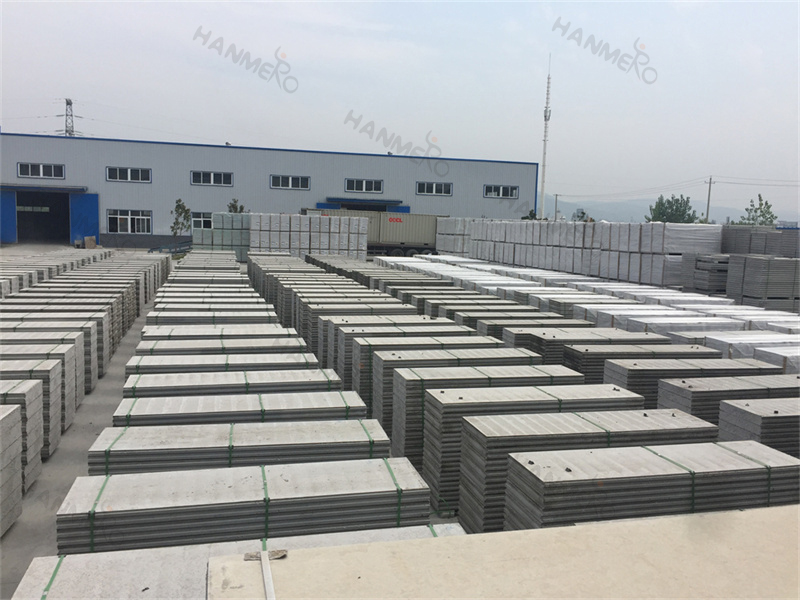
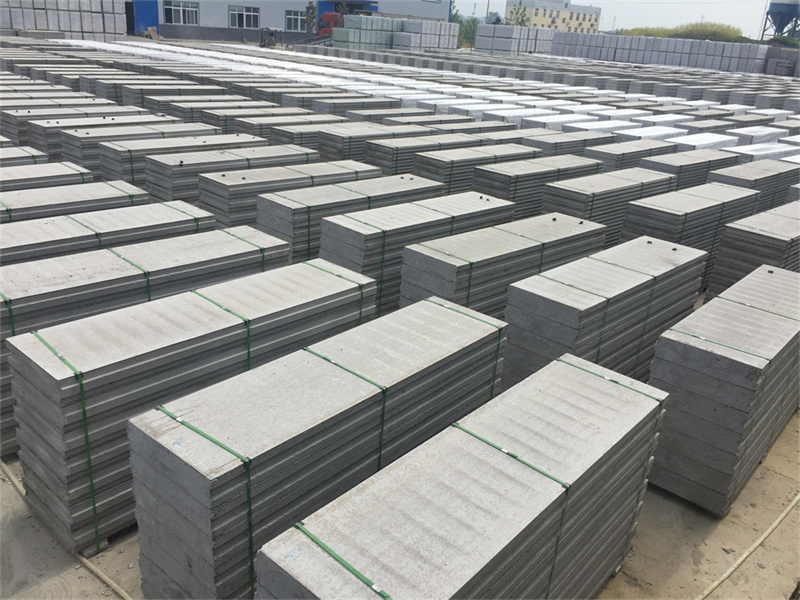
Installing EPS Cement Sandwich Wall Panels for your commercial office partition does not need to be a complicated, high-skill construction process, especially when you follow a clear, step-by-step workflow designed specifically for commercial space requirements. Many facility managers and small construction teams are surprised to find that they can complete a full office partition installation with general tools and a small crew, without hiring specialized masonry contractors or waiting weeks for materials to cure. This guide walks you through the full installation process, from pre-project preparation to final finishing, so you can get smooth, professional results every time you work with EPS Cement Sandwich Wall Panels for your commercial office projects.
Before you begin any installation work, it is important to gather all the required tools and confirm that your job site is properly prepared. The basic tools you will need for EPS Cement Sandwich Wall Panels installation include a circular saw or hand saw for cutting panels to custom sizes, a 1 to 2 meter spirit level, a rubber mallet for gently seating panels in place, a trowel for spreading panel adhesive, a laser level or plumb bob to ensure perfect vertical alignment, a measuring tape, chalk lines for marking wall positions on floors and ceilings, a drill with a mixing paddle for preparing mortar, and basic safety equipment including gloves, goggles, and a dust mask. You will also need supporting materials: your pre-measured EPS Cement Sandwich Wall Panels, specialized panel adhesive or cement mortar, steel L-brackets for securing panels to floor and ceiling structures, 6 to 8mm diameter steel dowels for reinforcing panel joints, and joint tape for covering seams before finishing. Before placing any panels, mark the exact layout of your office partitions on the floor, extend those lines up to the ceiling, and double check that all utility lines, electrical outlets, and data cabling paths are accounted for and will not be blocked by the new walls.
Once your site is marked and prepared, you can begin the actual installation of your EPS Cement Sandwich Wall Panels. Start by applying a consistent bead of panel adhesive along the bottom track position, then lift the first panel into place, align it carefully with your chalk line, and use the spirit level and laser level to confirm it is perfectly plumb. Tap the panel gently into position with the rubber mallet, then secure it to the floor and ceiling structures using steel L-brackets at regular intervals. For the next panel, apply a thin layer of adhesive along the tongue-and-groove edge of the already installed panel, then slot the new panel into place, check its alignment, and secure it with brackets. Continue this process until all panels for your office partition are in position. Once all full panels are installed, you can cut custom-sized panels for any remaining gaps around doors, windows, or existing structural elements. After all panels are set, fill the joints between panels with mortar, apply fiber joint tape over the seams, and smooth the surface to create a continuous, even wall that is ready for painting, wallpapering, or mounting office fixtures. The entire process is far faster and cleaner than traditional wall construction, making EPS Cement Sandwich Wall Panels perfect for commercial office spaces that need minimal disruption to daily operations.