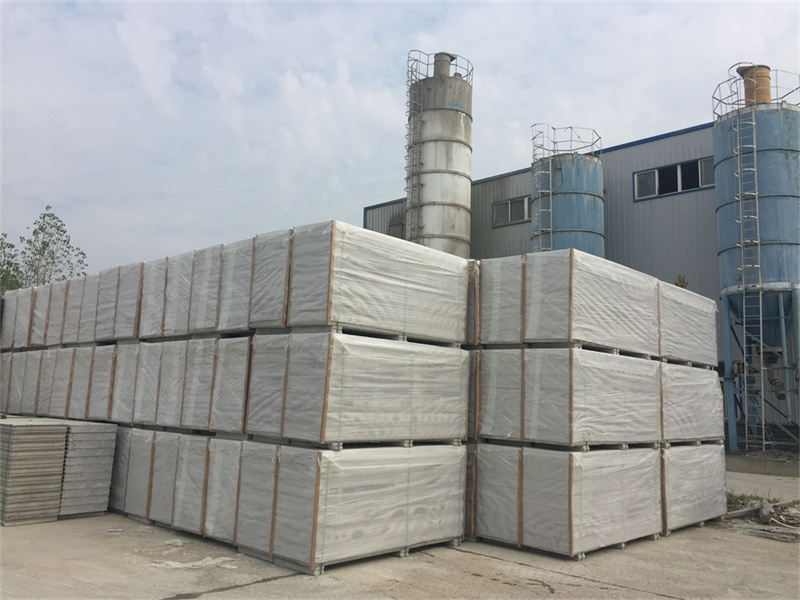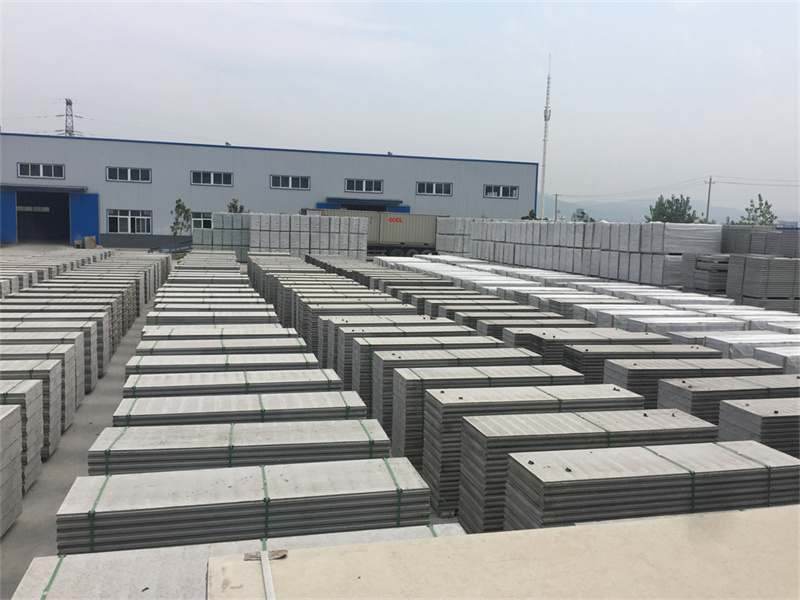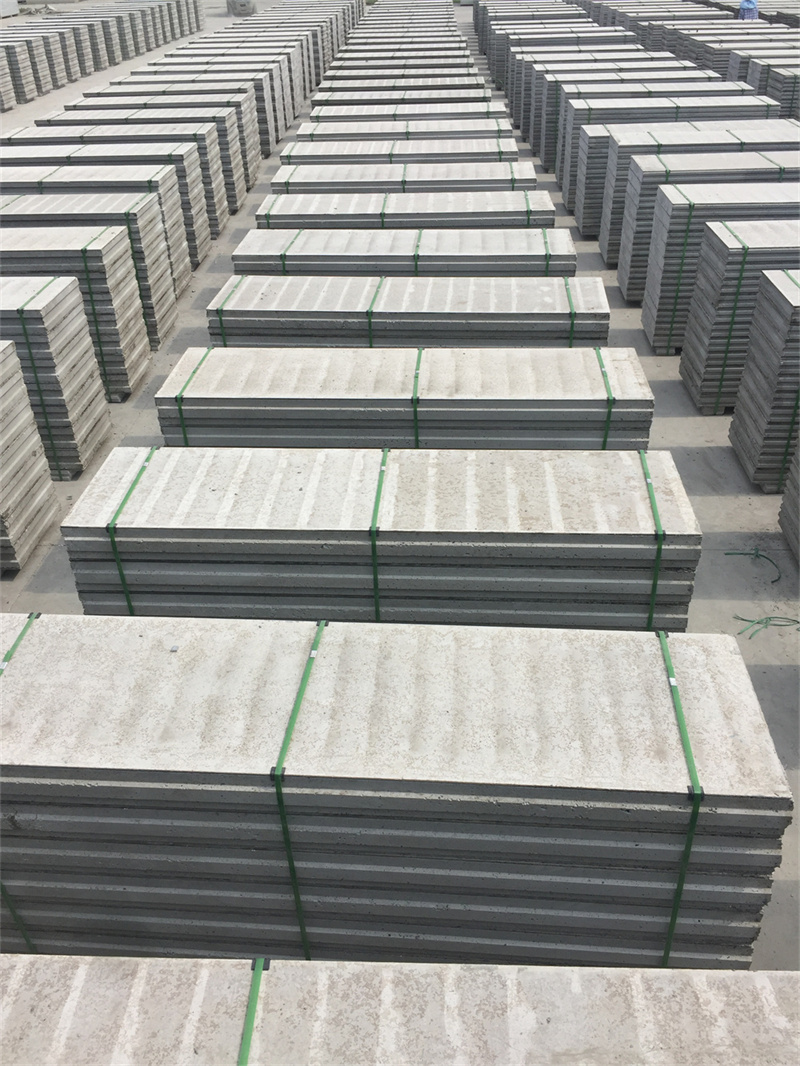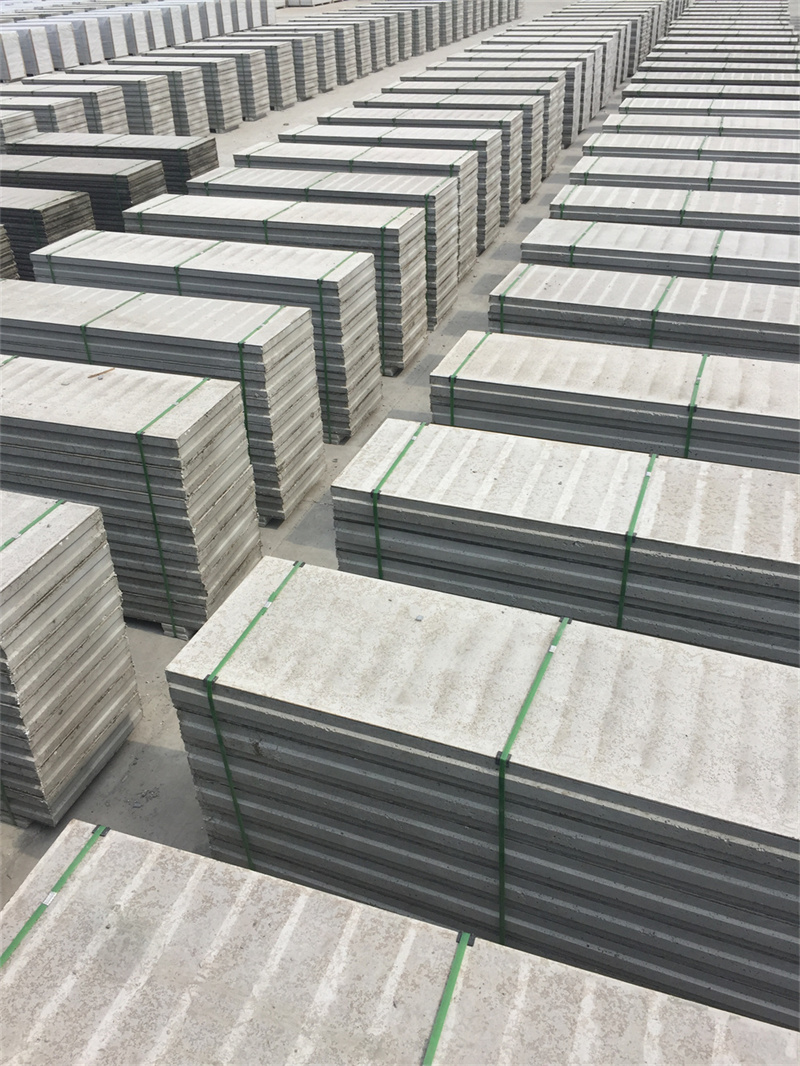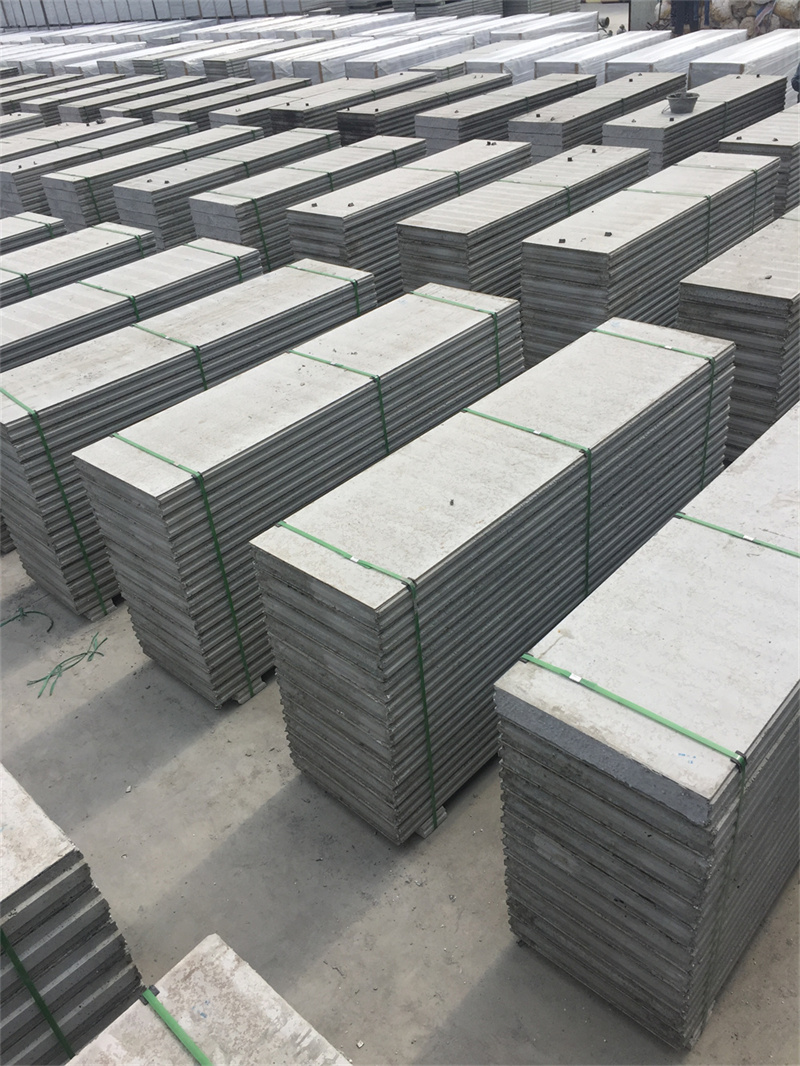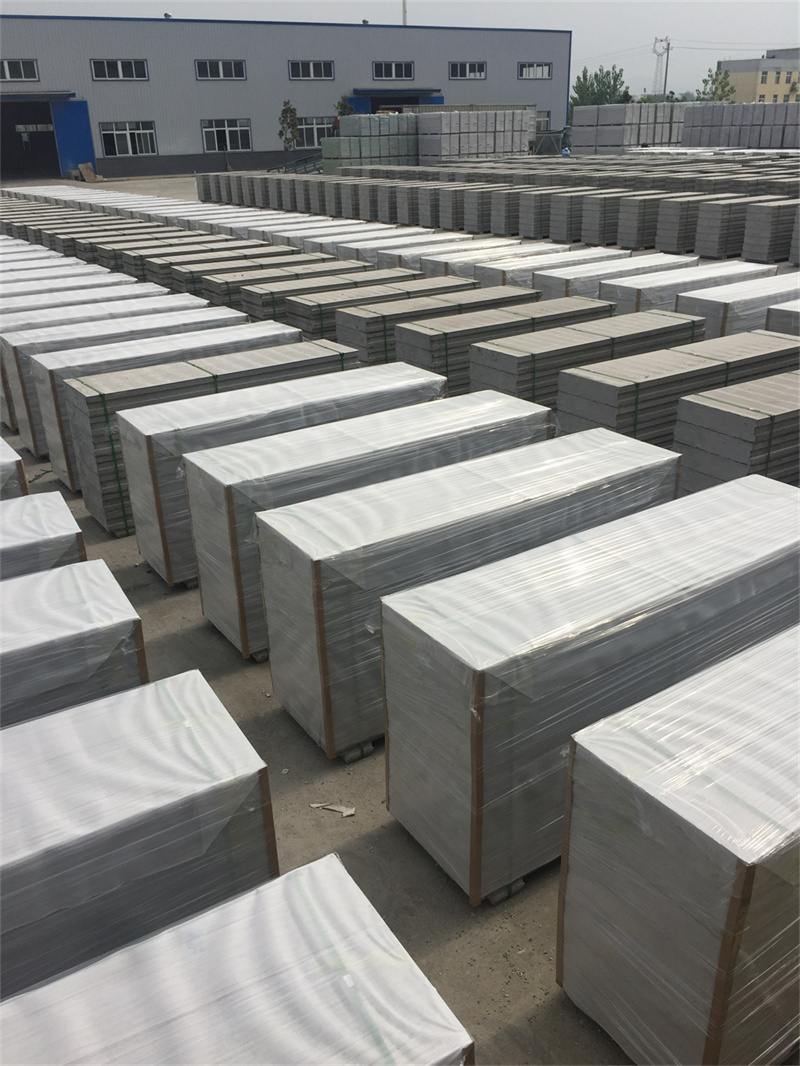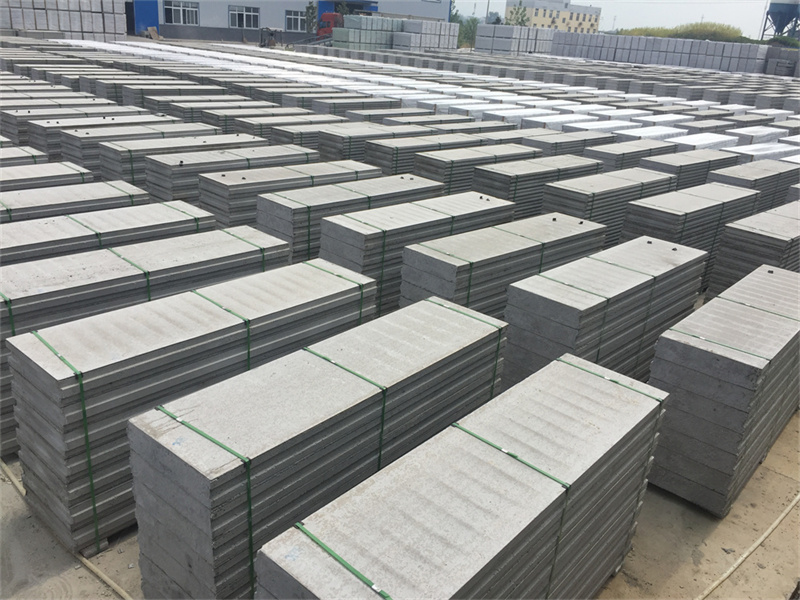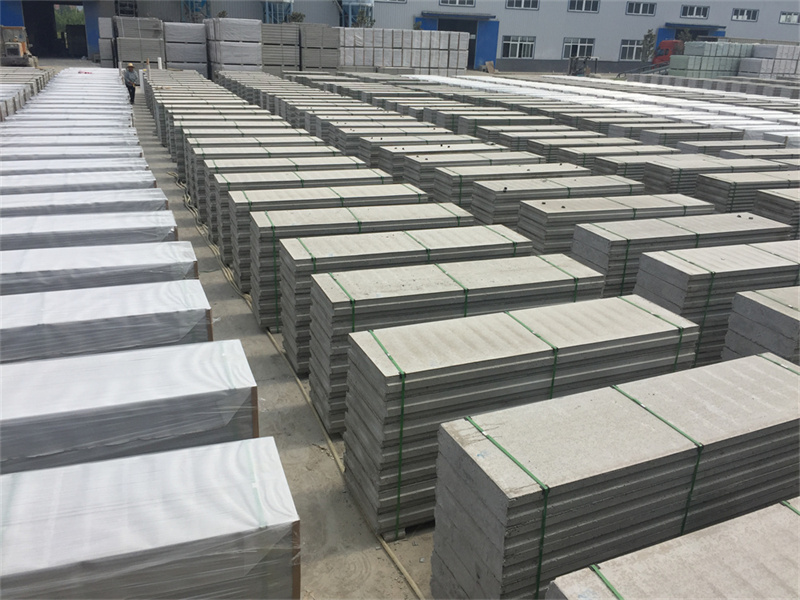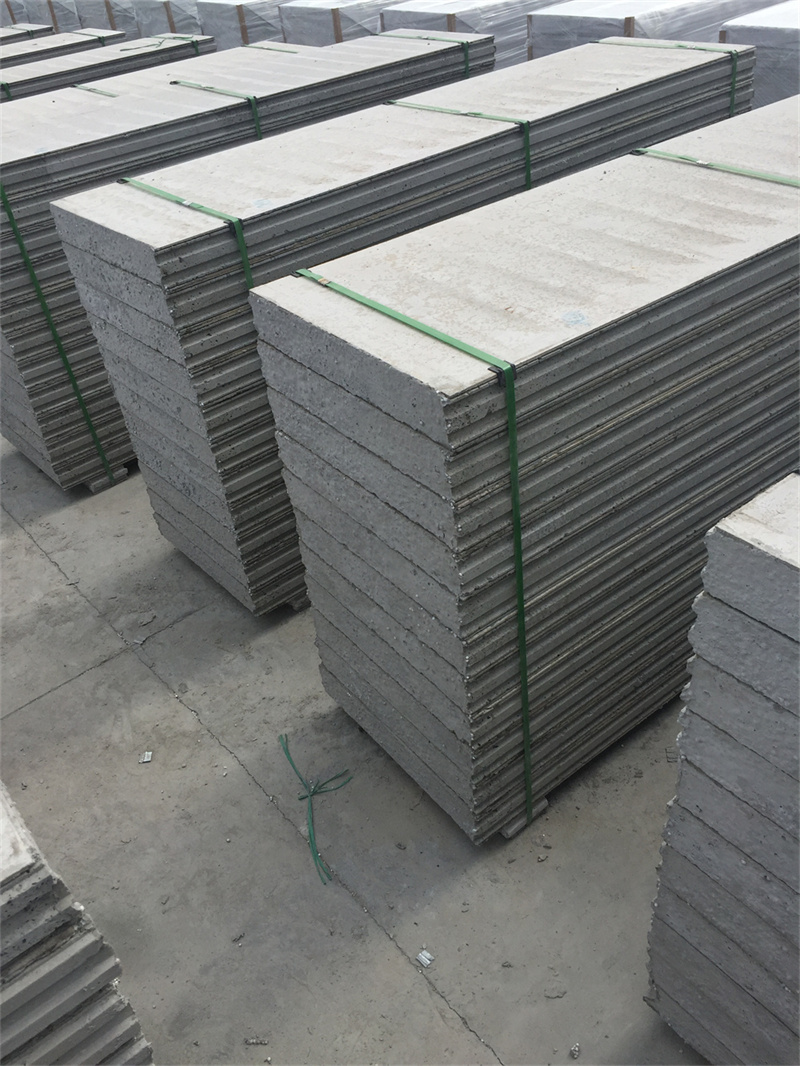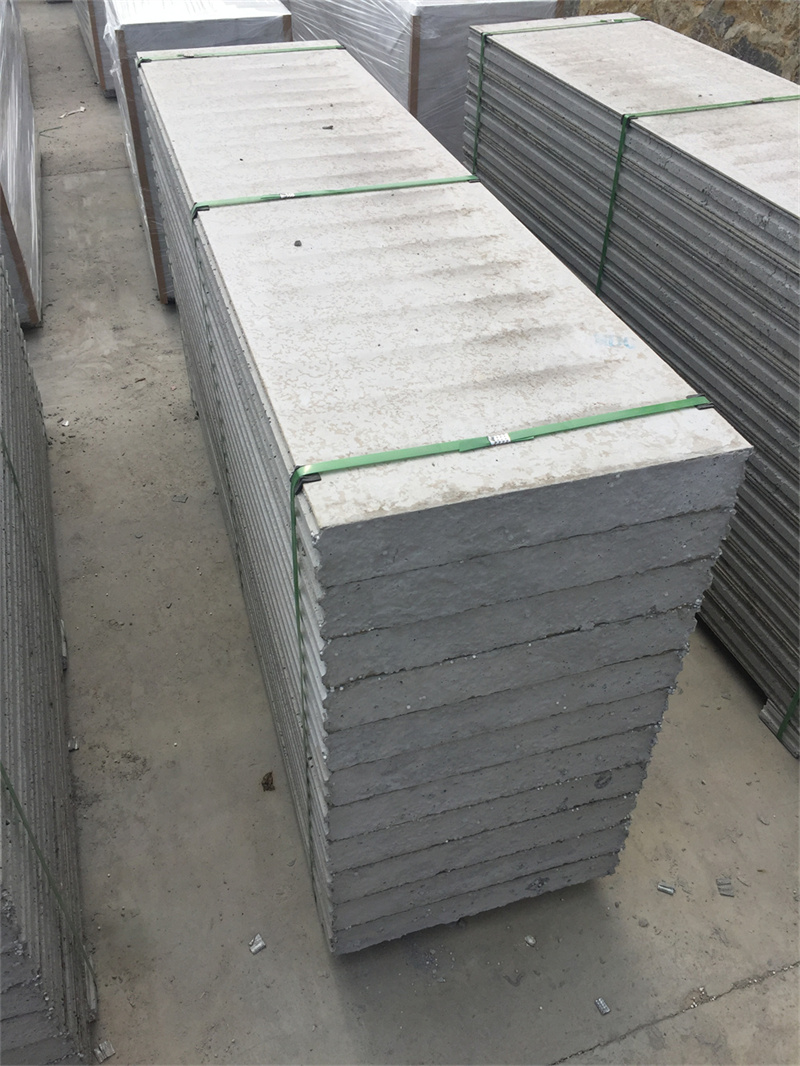
If you are planning to use EPS Cement Sandwich Wall Panel for your next building project, understanding the correct installation process will help you unlock all the performance advantages this material has to offer. Before you start, make sure the construction site has a flat, clean base, and pre-measure the dimensions of each wall section to match the exact size of every EPS Cement Sandwich Wall Panel you have ordered.
The first step is to place the positioning guide rails on the floor and ceiling, then lift each EPS Cement Sandwich Wall Panel into place and slot it firmly into the rails. Since every EPS Cement Sandwich Wall Panel comes with precise interlocking edges, adjacent panels can fit tightly together without large gaps, eliminating the need for messy on-site cement pouring. After aligning the panels, use special sealant to fill the joints between each EPS Cement Sandwich Wall Panel to ensure full waterproof and sound insulation performance. You can also easily carve grooves on the surface of an EPS Cement Sandwich Wall Panel to embed water pipes and electrical wires, avoiding the extra wall chiseling work required for traditional concrete walls. Following these simple steps, even a small construction team can finish installing dozens of square meters of EPS Cement Sandwich Wall Panel in a single workday.