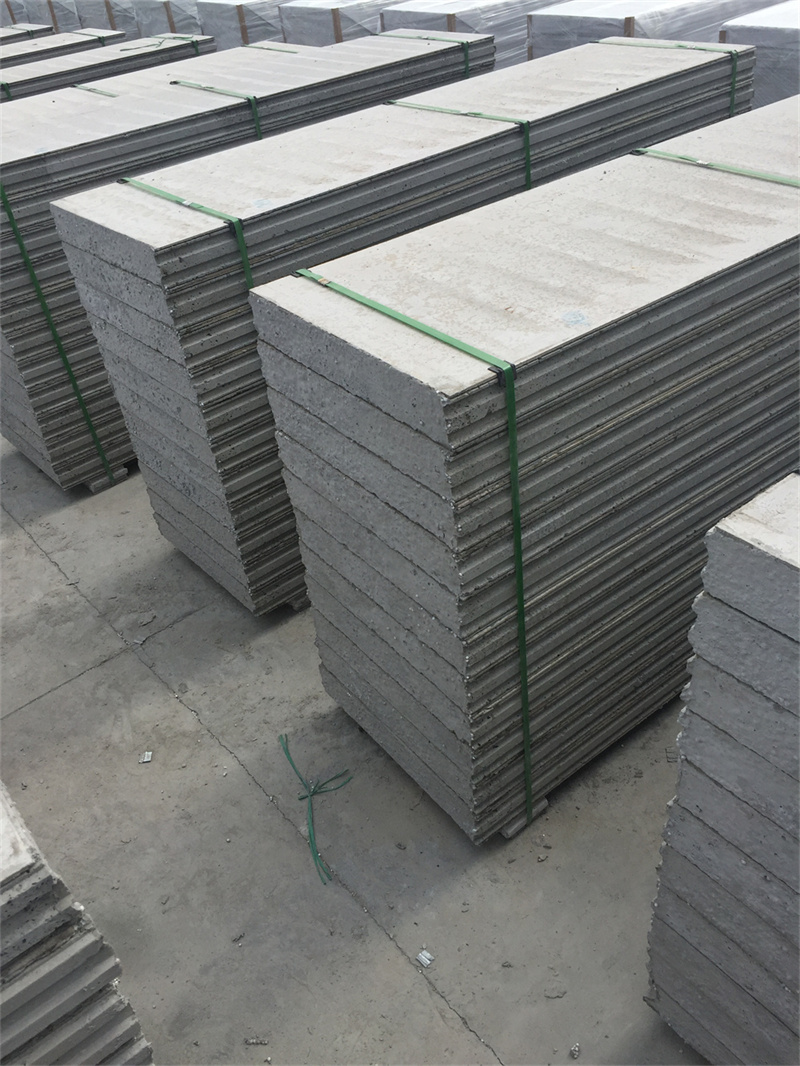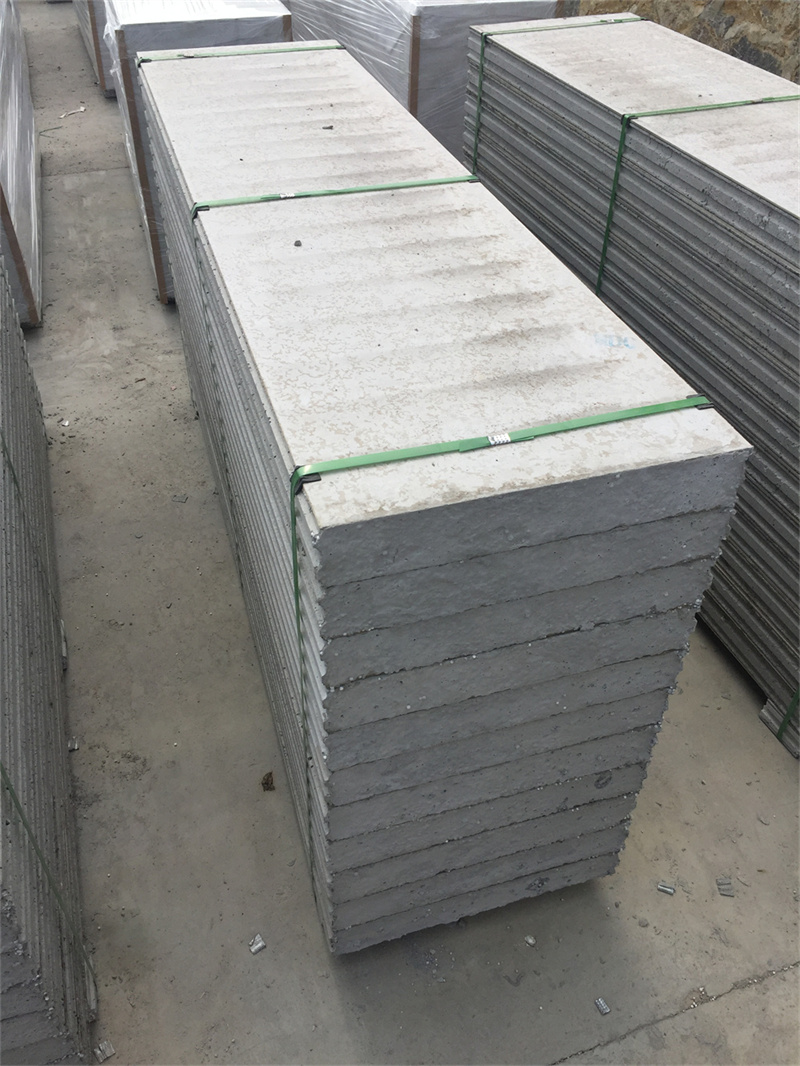
Getting a perfect professional finish on your EPS Cement Sandwich Panel partition walls is extremely simple, as long as you follow the correct step by step process that is designed specifically for this composite material. The first step after you finish installing all the panels is to apply a thin, even skim coat of specialized joint filler over the tongue and groove seams between panels, and over any small screw holes that you used to secure the panels to the track system. Once the filler is fully dry, use a fine grit 200 to 300 grit sandpaper to lightly smooth down the patched areas until they are completely flush with the rest of the panel surface, taking care not to scuff or scratch the main cement face of the panel. Next, wipe down the entire wall with a dry microfiber cloth to remove all sanding dust, before rolling on one full coat of high quality alkali resistant primer that is formulated for cement based building materials. This primer will seal the panel surface completely, preventing any faint discoloration from bleeding through your final top coat of paint. Once the primer has fully cured for 12 to 24 hours, you can apply two coats of your chosen commercial grade interior paint, and you will end up with a perfectly smooth, uniform wall finish that looks indistinguishable from a professionally plastered traditional masonry wall. You can also apply wallpaper, decorative textured coatings, commercial grade laminate or even tile directly onto the EPS Cement Sandwich Panel surface after applying the correct bonding primer, giving you almost unlimited options to match any commercial interior design style that your project requires.